

How to Roll a Joint
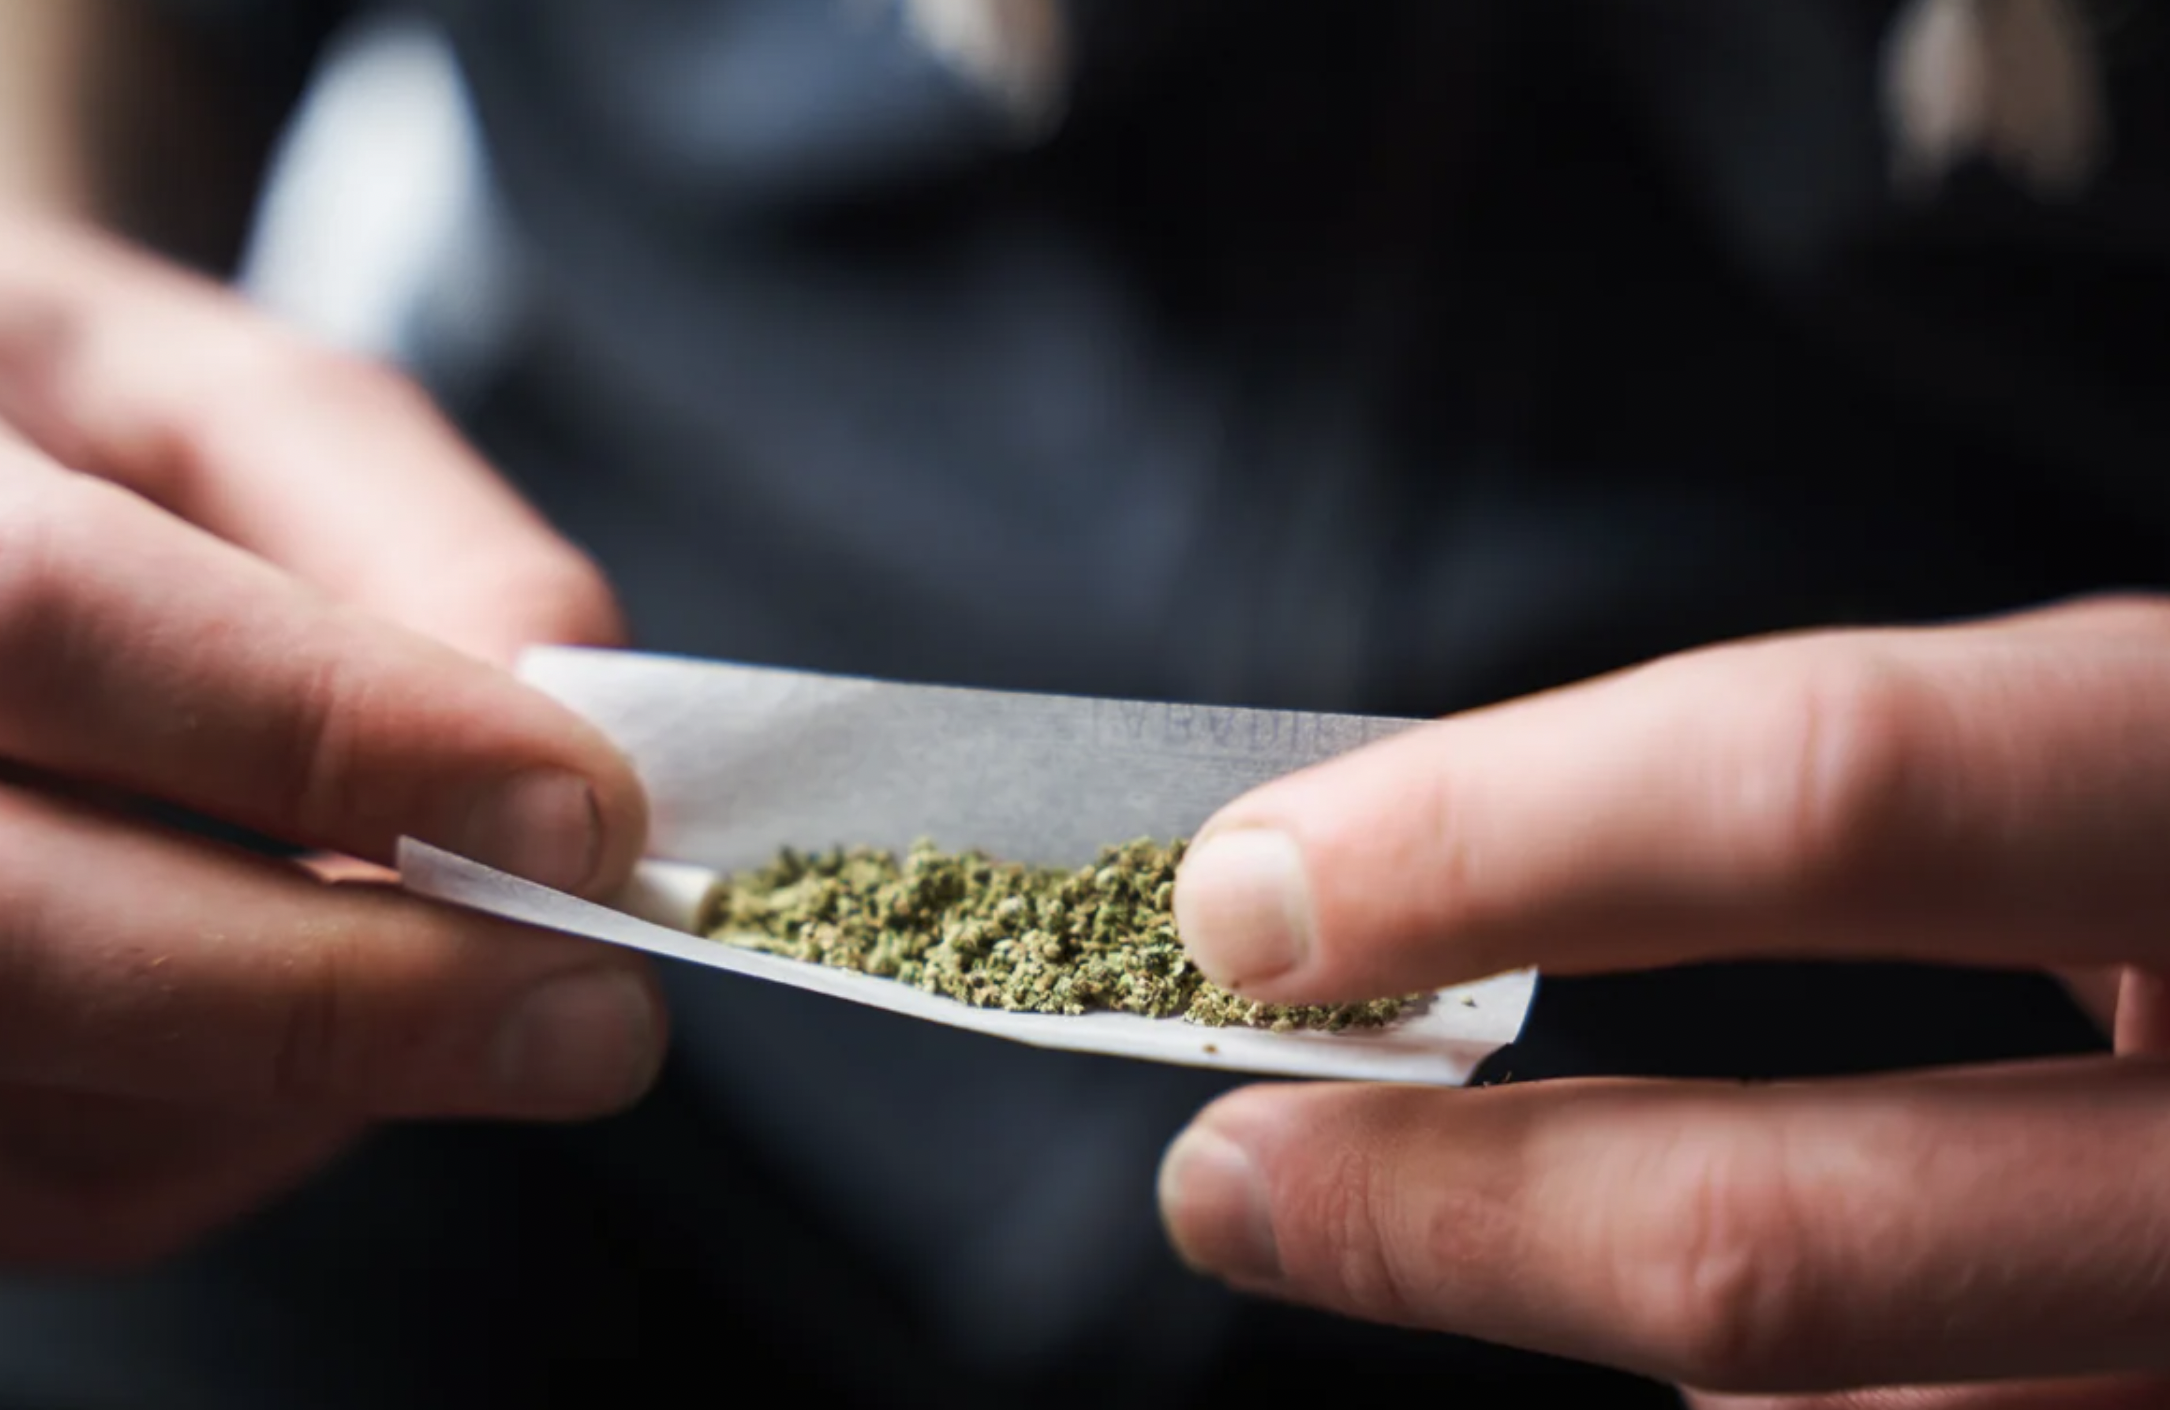
One of the reasons pre-rolled joints have been a major hit is that rolling a joint, especially for a newbie, can be challenging and sometimes intimidating even for experienced cannabis smokers. An experienced individual can make rolling a joint look effortless, but when you try it yourself, the paper and the ground herb simply won't cooperate. The shape doesn't hold, and the burn isn't quite right. Once you understand the basics, it becomes a skill you can build pretty quickly, even without the need for perfect technique from day one. You just need to understand the process and get comfortable with it. If you've struggled with rolling joints, this guide will walk you through everything you need to know in a step-by-step approach so you can finally hack it. A joint is one of the most classic and popular ways to consume cannabis. It’s simply ground cannabis flower rolled into a thin paper, usually with a small filter or crutch at one end to help with airflow and structure. What makes joints so popular is how simple yet effective they are in delivering the active compounds into the body. There’s no equipment needed beyond a few basic items, and you can roll one pretty much anywhere once you get the hang of it. It’s also a social method of consumption, which is why joints tend to show up in group settings or casual hangouts. Another reason people like joints is the control they offer. You can decide how much to roll, how strong you want it, and how fast you go through it. It’s a flexible option that fits a lot of different preferences among cannabis consumers. Before getting into the details of a joint, you have to know what it is and what it is not. The distinction between a joint, a blunt, and a spliff is one of those things that can confuse people at first, especially since the terms get used loosely depending on where you are. While they might look similar, there are some key differences. A joint is just cannabis wrapped in rolling paper. No tobacco, no extra layers, just the flower itself. That makes the flavor cleaner and lets you experience the strain more directly. A spliff, on the other hand, is a mix of cannabis and tobacco. Some people prefer this because it changes how the joint burns and adds a different kind of buzz to the experience and effects you feel. However, some people also avoid spliffs because of the nicotine content, so it is all about preferences. A blunt is a bit different again. Instead of thin rolling paper, it uses a cigar or tobacco leaf wrap. That gives it a thicker, slower burn and a more noticeable tobacco flavor. Understanding these differences helps you decide what kind of experience you want and the products you should get when smoking cannabis. If you’re aiming for a pure cannabis experience, a joint is the way to go. While the joint might be the best, most basic among spliffs, joints, and blunts, it also comes in different variations that will affect how you roll it. Some types of joints are practical, others are more about creativity, and others are just about how much you want to roll. These are the slim, minimal joints that use a small amount of cannabis. They’re often rolled when you want something quick or you’re trying to conserve your stash. A pinner is great for solo sessions or when you just want a light experience. It burns faster and is easy to manage, especially if you’re still learning how to roll. It is a great place to start if you are familiarizing yourself with the art of rolling a joint. This is the most common type you’ll see. It’s balanced in size and shape, not too small and not too large, making it ideal for everyday use. Standard joints are usually what people aim for when they’re learning, and are a good upgrade once you have mastered the pinner joint, because they give you enough room to practice your technique without being overwhelming. These are the larger, more packed versions designed for longer sessions or group settings. They hold more flower and take a bit more skill to roll properly because the burn also has to be controlled. Because of their size, they require a bit more attention when packing and shaping. But once you get it right, they burn slower and last longer, which is perfect for social settings. This is more of a novelty style where one joint is inserted through another, forming a cross shape. It looks impressive, but takes practice to get right. Cross joints are usually rolled for special occasions or just for fun. They are not the most practical option, but they definitely stand out and offer a great opportunity for you to show off your rolling skills to your friends. But these are not the kind of joint you will roll on a daily basis. Cone joints are wider at the top and narrower at the filter end. This shape allows for a steady burn and also makes this type of joint easier to roll once you get used to the technique. Many people prefer cones because they feel more natural to hold and smoke, but you can also buy pre-rolled cones if you want to skip the shaping part. Now that you understand the basics of a joint, you can get down to learning how to roll joints. First, you need to gather everything you need to roll the joint. These include the following: This is the main ingredient and the star of the show. The quality of your flower will affect the overall experience, so you need to spend some time choosing the right strain and the right quality. For joint rolling, you want something that's neither too dry nor too sticky. The flower should grind evenly and roll easily. It should also burn more consistently, which makes a big difference when you light up. A grinder helps break your flower down into an even texture. This is important because uneven pieces can cause airflow issues or uneven burning. You can also use your hands if you don't have a grinder, but it might seem easier at first; a grinder gives you better results. It's one of those tools that quickly becomes essential when smoking cannabis becomes a staple. Filters, also called crutches, sit at the end of the joint and give it structure. They help keep the shape stable and make it easier to hold. They also improve airflow, which makes the joint easier to smoke. Without a filter, the end can collapse or become too tight. A rolling tray keeps everything in one place and makes cleanup easier. It catches loose flowers and prevents a mess. You don’t absolutely need one, but it makes the whole process more comfortable, especially if you’re rolling regularly. If you’re planning to roll larger joints, you may need bigger papers or additional tools to handle the extra size. These are not necessary for beginners, but they are worth exploring later as you improve your skills or spend more time in social settings. Now that you have everything ready, it's time to roll. While experienced rollers can complete the process relatively quickly, your goal should be to take your time to ensure you get the best possible results, even if it takes a while at first. Speed is something you can build with time. Start by grinding your cannabis until it has a consistent texture. The final result should be neither too fine nor too chunky. Getting the grinding right will help with airflow and ensure the joint burns smoothly. If the pieces are uneven, you might run into problems later. Take your filter and fold it into a small shape that fits comfortably at one end of the paper. This will act as the base of your joint. A well-made crutch gives your joint structure and makes it easier to roll. It also prevents loose flowers from falling out. Place the ground flower along the crease of the rolling paper. Spread it evenly from one end to the other. Try not to overfill it. Too many flowers can make rolling harder, especially when you're still learning, and they can create quite a mess. This is where the technique comes in. Use your fingers to gently shape the paper around the flower, tucking it in as you go. Once you have the shape, roll the paper upward and keep it tight but not overly compressed. This step takes practice, so don’t worry if it feels awkward at first. Lick the adhesive edge of the paper and seal the joint. Once it’s closed, you can gently pack the open end to even out the contents. Packing helps remove air pockets and ensures a smoother burn. Just be careful not to press too hard. Twist the open end of the joint to keep everything in place. This also makes it easier to light when you’re ready. At this point, your joint is complete. It might not look perfect, but if it holds together and burns well, you’ve done it right. Many things can go wrong with your joint, even when you have the shape right. This is why rolling is considered a delicate process and an acquired skill. Understanding the different challenges that can affect your joint will help you determine what you did wrong and work on it on the next roll. This happens when one side of the joint burns faster than the other. It creates an uneven burn that can waste your flower and negatively impact your experience. Canoeing is usually caused by uneven packing or inconsistent rolling. To fix it, you can rotate the joint as you smoke or lightly dampen the faster-burning side. Running is similar to canoeing but often happens more quickly. The burn line moves unevenly and can ruin the experience. This is often linked to airflow issues or uneven distribution of flowers. Paying attention during the rolling stage, particularly during packing, can help prevent it. If your joint is too tight, it will be hard to draw air through it. If it’s too loose, it will burn too quickly and unevenly. Finding the right balance takes practice. The goal should be a firm roll that still allows airflow without feeling restrictive. Rolling a joint might not look or feel easy at first. But it is one of those skills that gets easier the more you do it. Your first few might look a bit off, and that’s completely normal. What matters is that you understand the process and keep practicing. Over time, you’ll develop your own style and preferences and figure out what works for you and what doesn’t. Eventually, rolling a joint will feel just as natural as lighting one. Take your time, enjoy the process, and don’t stress about perfection. It’s all part of the experience.What is a Joint?
Is a Joint Different From a Spliff or a Blunt?
What are the Different Types of Joints?
Pinner joints
Standard joints
King or baller joints
Cross joints
Cone joints
What Do You Need to Roll a Joint?
Cannabis flower
Grinder
Filters or crutches
Rolling tray
Baller or king joints
Step-by-Step Guide on How to Roll a Joint
Grind the flower
Prepare the crutch
Fill the paper
Roll it up
Seal and pack
Twist the tip
Understanding Common Challenges With Joints
Canoeing
Running
Too tight or too loose
Final thoughts on learning to roll